Authentication using the Supabase to an Angular application

Introduction
Angular is a development platform for building WEB, mobile and desktop applications using HTML, CSS and TypeScript (JavaScript). Currently, Angular is at version 14 and Google is the main maintainer of the project.
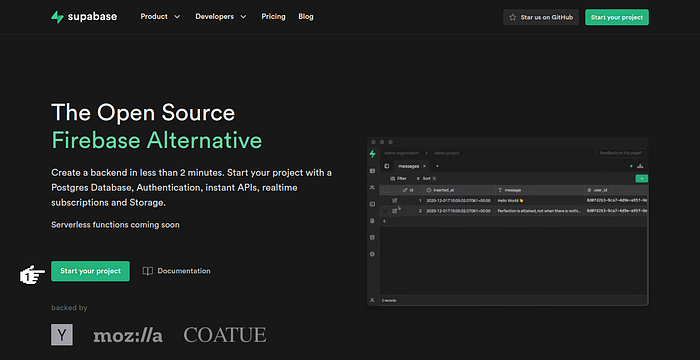
Supabase is an authentication service with simple tools to help developers build applications.
Prerequisites
Before you start, you need to install and configure the tools:
Getting started
Create and configure the account on the Supabase
1. Let’s create the account. Access the site https://supabase.io/ and click on the button Start your project.
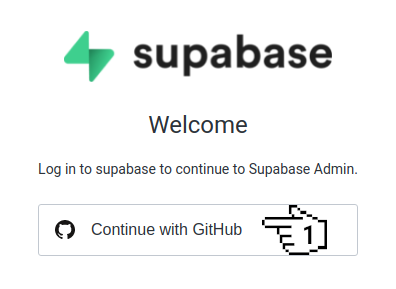
2. Click on the button Continue with GitHub.
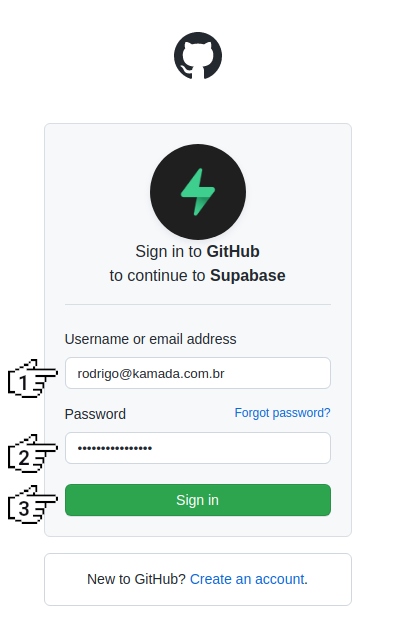
3. Fill in the fields Username or email address, Password and click on the button Sign in to login with your GitHub account and if you don’t have an account, click on the button Create an account to create a new account. In this tutorial there is a step-by-step guide to creating a GitHub account.
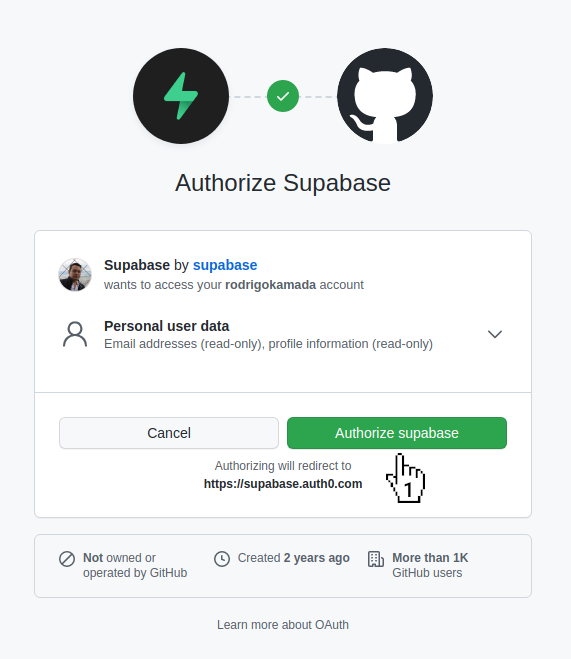
4. Click on the button Authorize supabase.
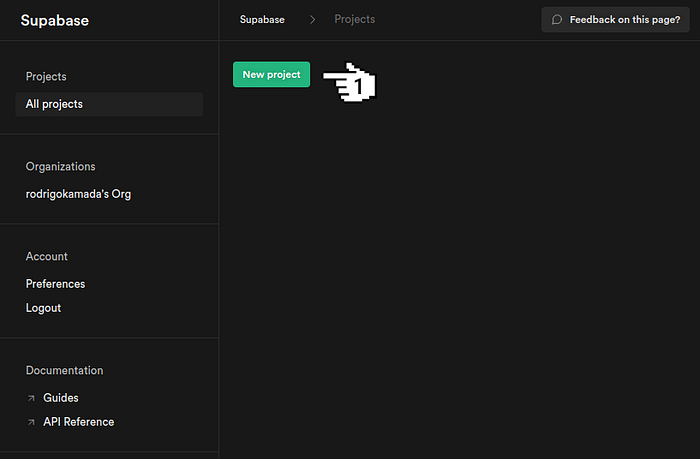
5. Click on the button New project.
6. Click on the menu with the organization name created automatically.

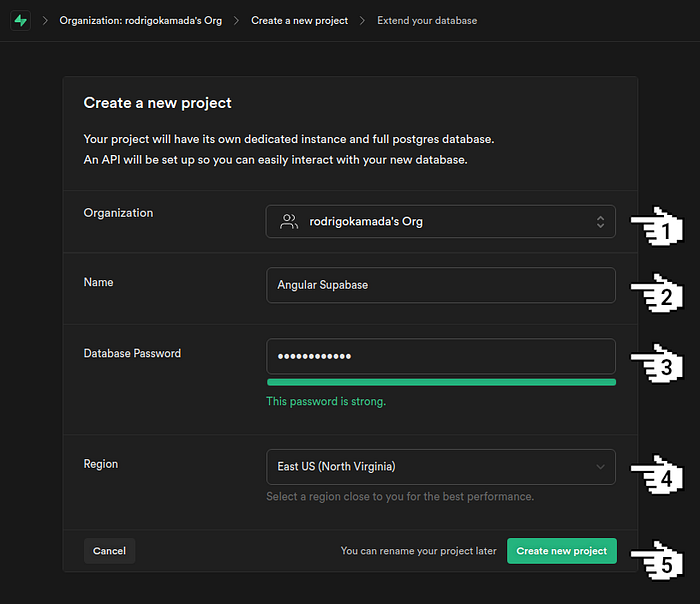
7. Select an Organization, fill in the fields Name and Database Password, select a Region and click on the button Create new project.
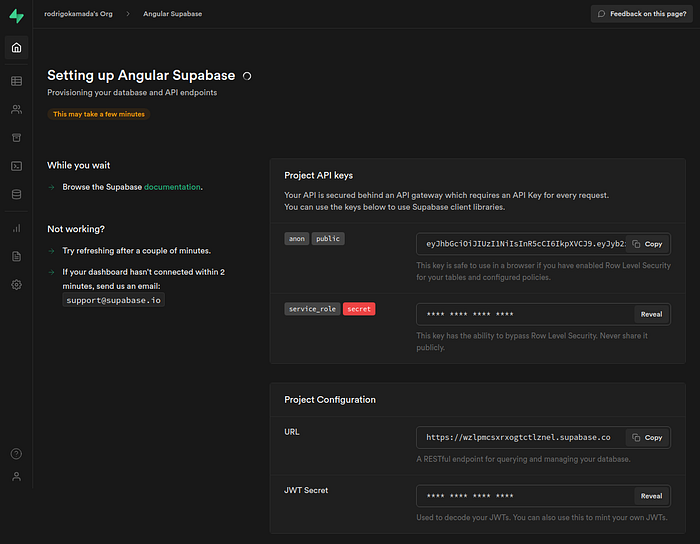
8. Wait for the project creation.
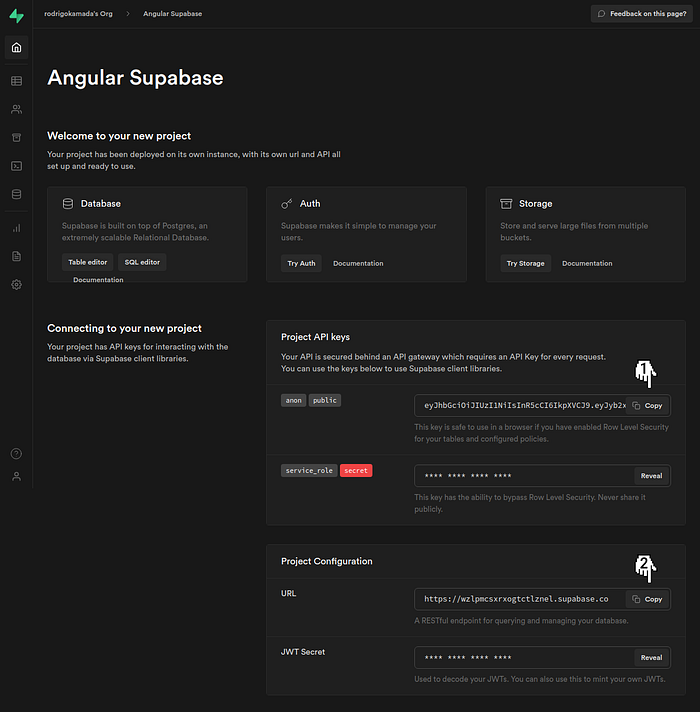
9. Click on the button Copy to copy the key that has been generated, in my case, the key eyJhbGciOiJIUzI1NiIsInR5cCI6IkpXVCJ9.eyJyb2xlIjoiYW5vbiIsImlhdCI6MTYzNTA4NjA1MCwiZXhwIjoxOTUwNjYyMDUwfQ.CzFuYS6XKvEwW5OsAAPAcHvuo-NVE4PUwDSKgqK9Yas was copied and click on the button Copy to copy the URL that has been generated, in my case, the URL https://wzlpmcsxrxogtctlznel.supabase.co was copied becouse this key and URL will be configured in the Angular application.
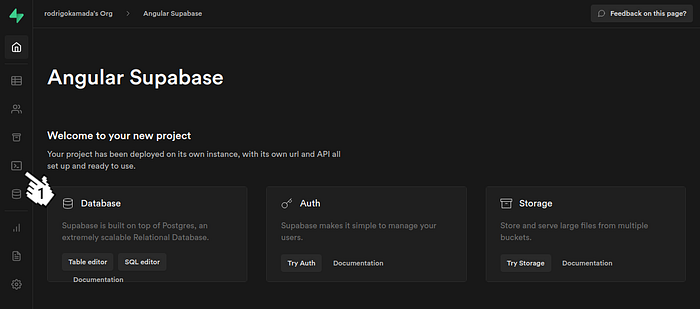
10. Click on the menu SQL to setting up the database schema.
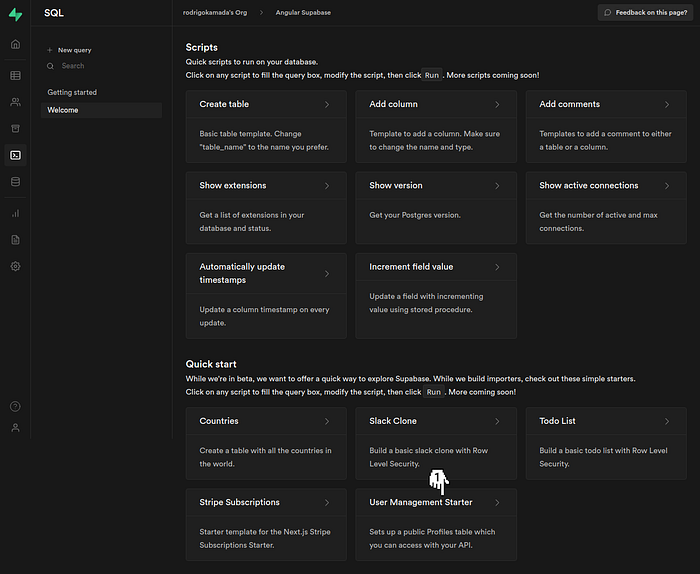
11. Click on the card User Management Starter.
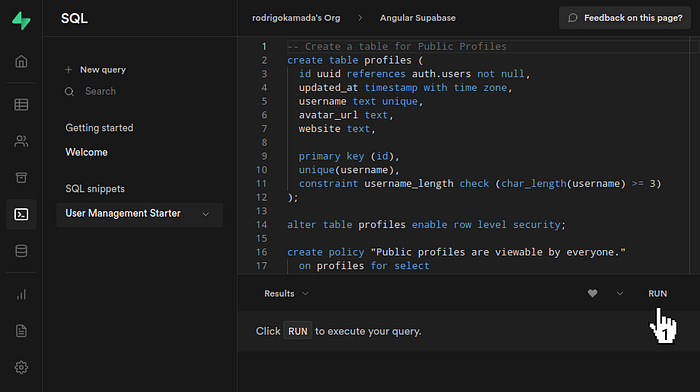
12. Click on the button RUN.
13. Ready! Account created, key generated and database schema configured.
Create the Angular application
1. Let’s create the application with the Angular base structure using the @angular/cli with the route file and the SCSS style format.
2. Install and configure the Bootstrap CSS framework. Do steps 2 and 3 of the post Adding the Bootstrap CSS framework to an Angular application.
3. Configure the variable supabase.url with the Supabase URL and the variable supabase.key with the Supabase key in the src/environments/environment.ts and src/environments/environment.prod.ts files as below.
4. Install the @supabase/supabase-js library.
5. Create the SupabaseService service.
6. Change the supabase.service.ts file and add the lines as below.
7. Create the SignInComponent component.
8. Change the src/app/sign-in/sign-in.component.ts file. Import the Router and SupabaseService services and create the signIn method as below.
9. Change the src/app/sign-in/sign-in.component.html file. Add the lines as below.
10. Create the ProfileComponent component.
11. Change the src/app/profile/profile.component.ts file. Import the SupabaseService service and create the update method as below.
12. Change the src/app/profile/profile.component.html file and add the lines as below.
13. Change the src/app/app.component.ts file. Import the Router and SupabaseService services and create the isAuthenticated and signOut methods as below.
14. Change the src/app/app.component.html file and add the menu as below.
15. Change the src/app/app-routing.module.ts file and add the routes as below.
16. Change the src/app/app.module.ts file. Import the FormsModule module and the ProfileComponent and SignInComponent components as below.
17. Run the application with the command below.
18. Ready! Access the URL http://localhost:4200/ and check if the application is working. See the application working on GitHub Pages and Stackblitz.
Testing the application sign in
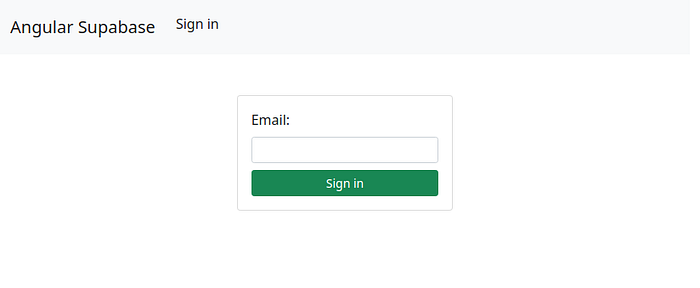
1. Let’s test the application sign in. Access the URL http://localhost:4200/, fill in the field Email and click on the button Sign in.

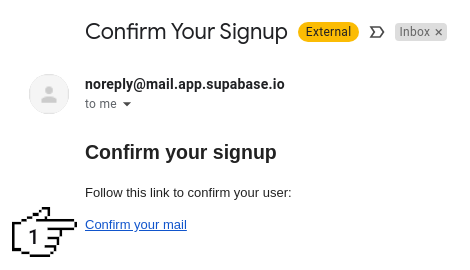
2. Open the email with the subject Confirm Your Signup and click on the link Confirm your mail.
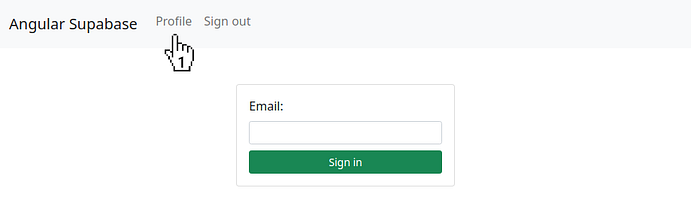
3. At this point, you are already signed in. Click on the menu Profile.
4. Fill in the fields Name and Website and click on the button Update.

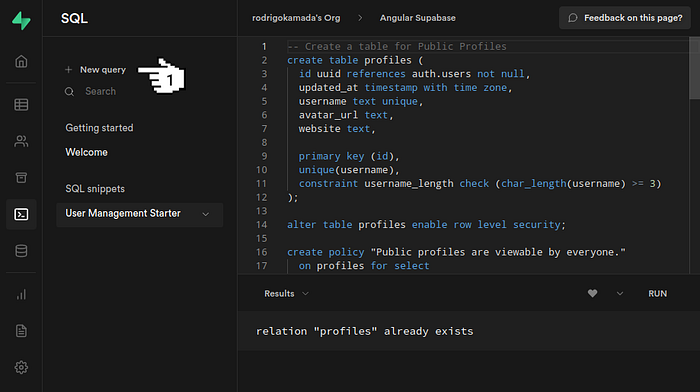
5. Go back to the Supabase site and click on the menu New query.
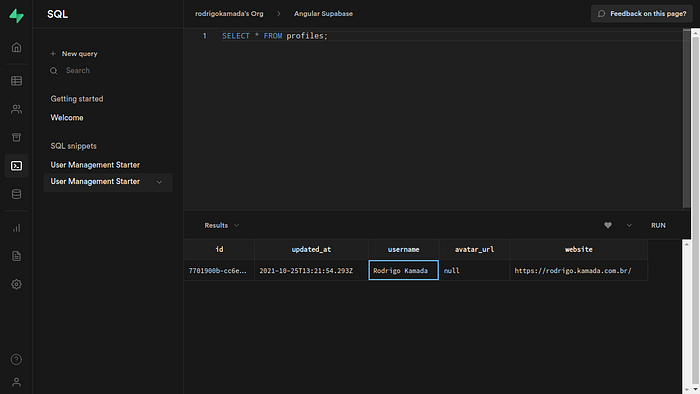
6. Fill in the text field with SELECT * FROM profiles; content and click on the button RUN.

7. Check the updated fields username and website.
8. Ready! We test the application sign in and profile update. Supabase documentation is available at https://supabase.io/docs.
The application repository is available at https://github.com/rodrigokamada/angular-supabase.
This tutorial was posted on my blog in portuguese.